
How to Bake a Ham
Let’s face it; long-cook recipes such as this one can be intimidating. However, with the right guidance, along with clear and easy-to-follow steps, it doesn’t have to be. Sure, if you’re craving the delectable flavor of roasted ham, you’re going to have to give it some time. However, as our recipe demonstrates, achieving restaurant-quality results can be a stress-free affair. The actual process of cooking the ham is relatively simple. The most important thing is that you gather your ingredients ahead of time and ensure you have the right equipment.
For a dish as special as this one, we recommend giving your oven a thorough clean beforehand. This guarantees that the flavor of the ham remains untainted by your previous oven exploits. It’s also important to make sure your baking tray is the right size to bake the ham on.
The Art of Glazing a Ham
What makes an oven-baked ham a truly stand-out dish? You’ve guessed it, it’s the glaze. But the process of glazing meat is a fine art. Luckily, we’re here to help you master it. To glaze a ham properly, you’ll need:
- Basting Brush
- Large baking tray
- Cooling Rack
- Mixing bowl
- Glaze ingredients
To ensure the ham absorbs all of the flavor of the glaze, we recommend basting it and putting it aside for a few hours prior to putting it in the oven. As far as glazing goes, we say slow and steady wins the race. Add your glaze in small amounts every 30 minutes or so. This way, the mixture melds perfectly with the natural juices of the ham.
Sweet Glaze vs. Savory Glaze
In our recipe, we’ve opted for a simple and savory salt, pepper, and olive oil glaze. We feel this combination accentuates the natural savoriness of the ham. However, if you prefer your meat to have a sweet and tangy finish, we recommend using ingredients like orange juice, sugar, and honey.
Best Olive Oil Variety to Use for Glazing Meats
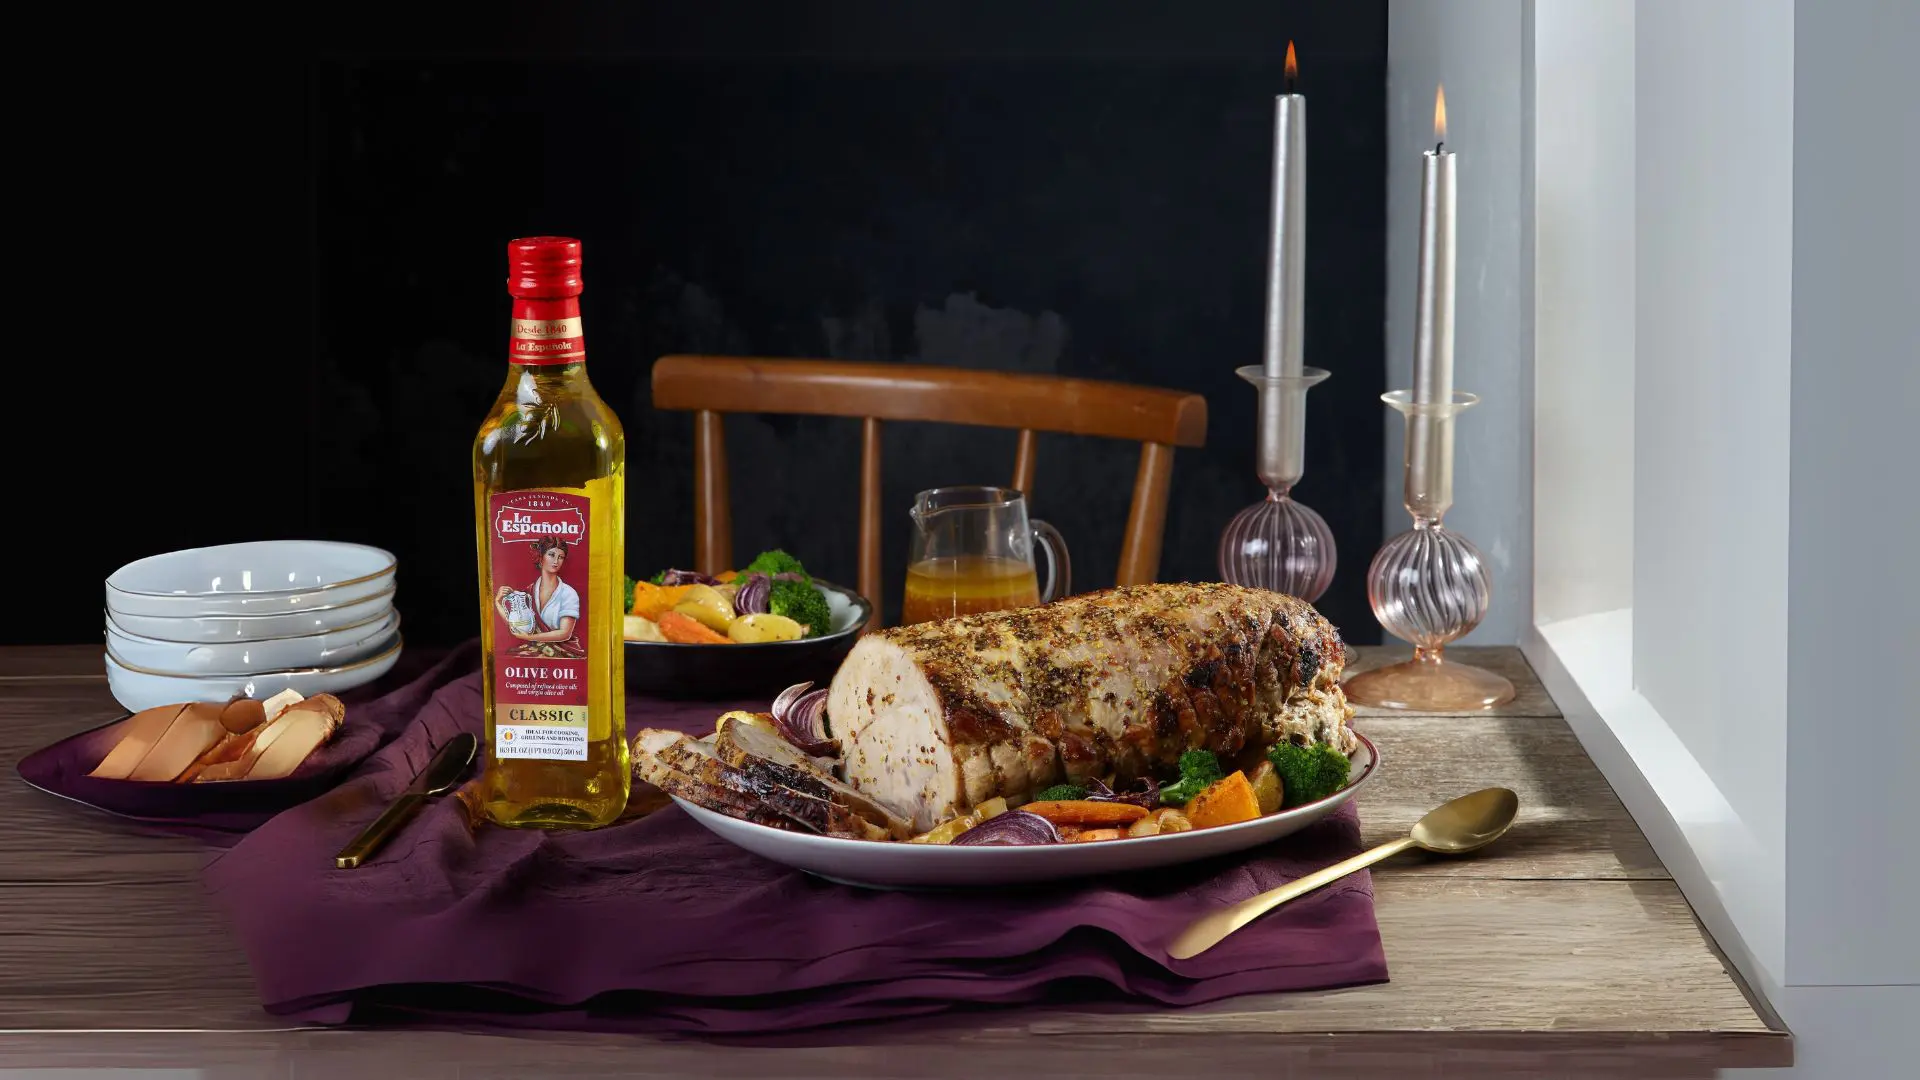
In this recipe, we’ve opted for La Española Classic Olive Oil. Its mild flavor enhances the taste of the meat and allows it to shine. However, if you want to add an extra dimension to the flavor profile of the glaze, try using La Española Extra Virgin Olive Oil Flavored with Truffle. This rich olive oil blend has long been a favorite among top chefs, and it’s easy to see why. Try it out for yourself and enjoy spectacular results.
Using a Meat Thermometer
Meat thermometers are important kitchen tools, especially for roasted and baked dishes. When cooking meat in large quantities, such as a whole chicken or a leg of ham, it can be difficult to tell if the meat has been cooked thoroughly. The reason for this is that the eye test that usually works for fried dishes is more difficult to judge for larger portions of meat. In fact, the USDA recommends using meat thermometers, as they are the best way to ascertain when meat is ready to consume.
The good news is that using a meat thermometer is easy. Simply insert the needle deep into the meat you’re cooking and wait for the reading. For more cooking tips and recipe inspiration, be sure to drop by our blog.